Add Cards to a Techpack
Feb 04, 2017
After setting up your techpack, you can start adding your design details and components. On Techpacker, details are inputted as "Cards". In this chapter we will go through the card system and how to add cards.
1. What are cards?
For techpacks, you need to handle a variety of components, such as design details, artwork, materials and measurements. Each components are inputted as separate "Cards" with their own specification. Just like a folder, each component has its card folder to store all relevant descriptions, specifications, comments, and conversations. You can easily find details by opening the card; at the same time, all comments left in the card will be kept as records.


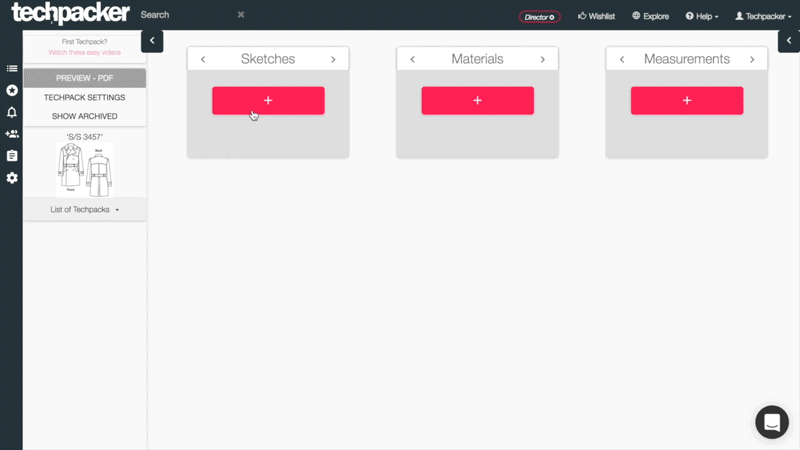
2. Add cards
On main dashboard page, you'll find 3 columns representing different card types - "Sketch", "Material" and "Measurement". Material and Measurement cards have Bill of Materials (BOM) table and Point of Measurements (POM) table designed for materials and size charts. We therefore highly recommend creating cards on proper card column.
There are 2 ways to add cards:
1. Click "+" button
When you click the pink "+" button, there is an input field for naming your card. Then click "CREATE" or pressing enter, to generate a new empty card (see image below).

2. Drag & Drop
If you already have a bundle of images of your style, you have no need to create cards one by one. Instead, you can select multiple images and drag them to the dashboard. The images can be PNG, JPG/JPEG, AI or PDF and cards will be generated with their file names (see image below).
3. Switch card types
In case you have added cards to the wrong column, you can also switch card types by dragging cards to another column (see image below).

Now, cards are ready and you can make specifications on cards through annotation. Learn more from the next chapter.